개요
- Unity Script를 숨기기위해 DLL로 묶는 작업을 진행한다.
DLL 만들기
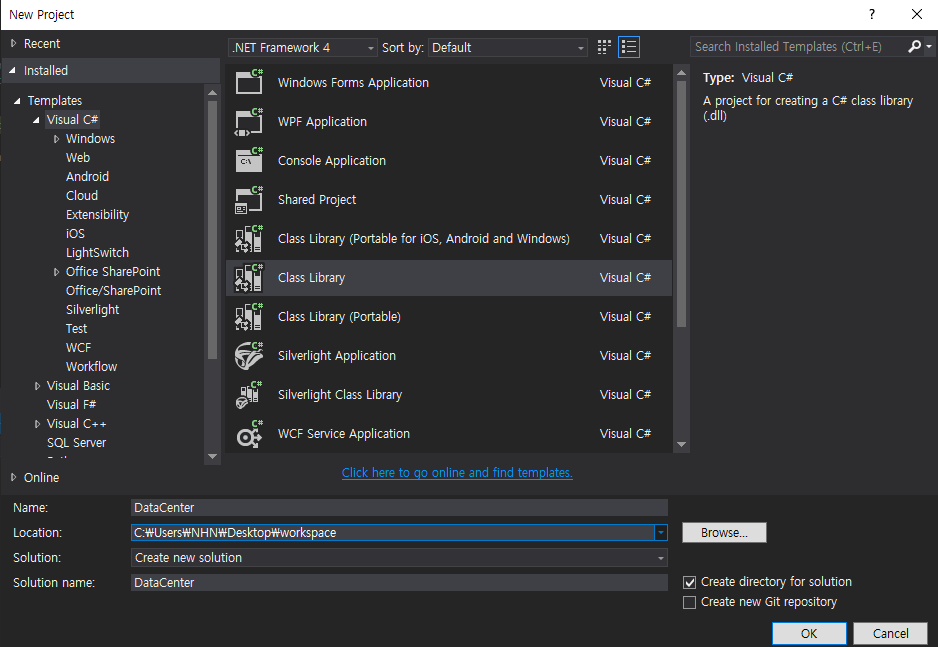
1. C# Project 생성
- Visual C# > Class Library를 선택하여 프로젝트를 생성한다.
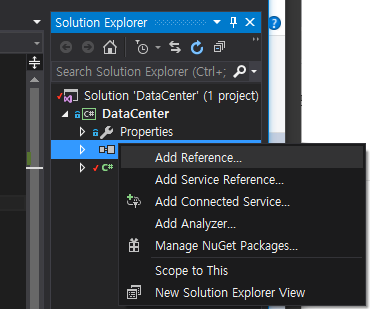
2. Unity 의존성 추가하기
DLL에서 Uinty Engine의 기능을 사용하기 위해서는 UnityEngine에 대한 참조기 필요하다.
솔류션창에서 참조를 우클릭하여 참조 추가하기를 누른다.
- 이후 필요한 의존성을 주입한다. 현재 예제의 경우 UnityEngine.dll이다.
- Unity Hub를 사용하는 사용자 기준으로 dll의 경로는 다음과 같다.
C:\Program Files\Unity\Hub\Editor\2018.4.22f1\Editor\Data\Managed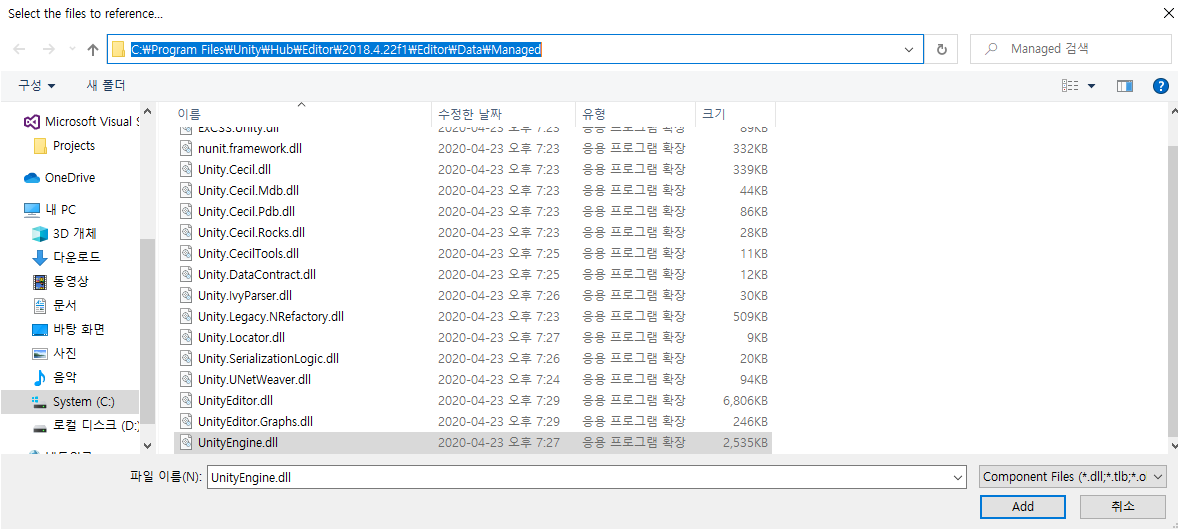
3. DLL 스크립트 작성
- 간단한 스크립트를 작성한다. 접근성을 알아보기 위해 접근 한정자 별로 함수를 구현하였다.
using System;
using System.Collections.Generic;
using System.Linq;
using System.Text;
using UnityEngine;

namespace Data
{
    public class DataCenter
    {
        public void CallPublic()
        {
            Debug.Log("public method call!!");
        }

        protected void CallProtected()
        {
            Debug.Log("protected method call!!");
        }

        private void CallPrivate()
        {
            Debug.Log("private method call!!");
        }

        internal void CallInternal()
        {
            Debug.Log("internal method call!!");
        }

        protected internal void CallProtectedInternal()
        {
            Debug.Log("protected internal method call!!");
        }
    }
}
4.프로젝트 빌드하기
- 메뉴에서 Build > Build Soultion을 클릭하여 프로젝트를 빌드한다. (실행말고 빌드를 누르자)
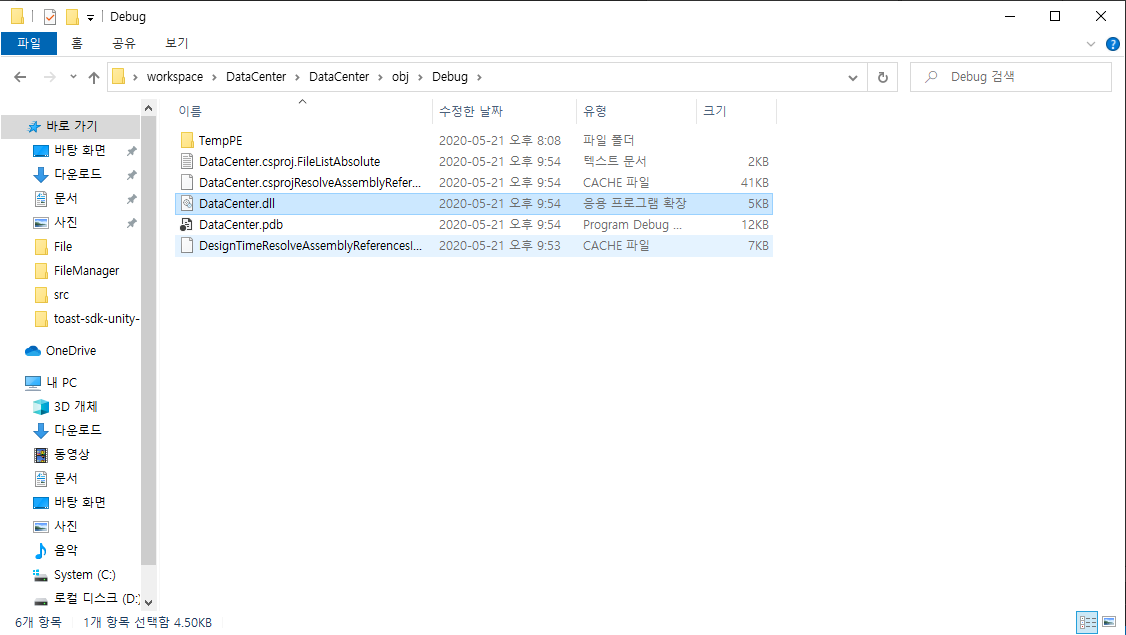
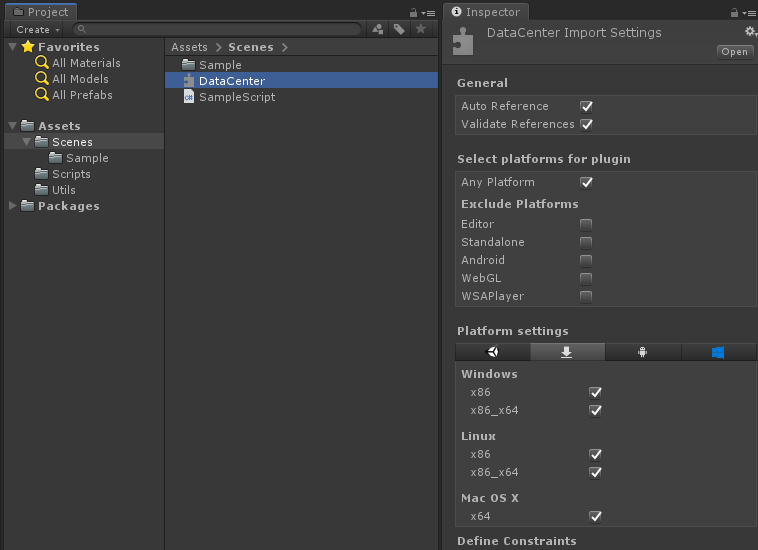
5.결과물 포함
- 빌드 결과물은 Unity 폴더 아무데나 배치해도 인식된다. (.cs 파일과 마찬가지)
6. 결과 확인
- DLL에서 지정한 namesapce를 사용하여 객체를 인스턴스화해 본다.
using System.Collections;
using System.Collections.Generic;
using UnityEngine;
using Data;

public class SampleScript : MonoBehaviour
{
    DataCenter dataCenter = new DataCenter();

    // Start is called before the first frame update
    void Start()
    {
        dataCenter.CallPublic();
    }
}
'프로그래밍 > Unity' 카테고리의 다른 글
| [Unity] No Android Device Found 에러 (0) | 2021.03.04 |
|---|---|
| [Unity] 화면 슬립 방지 방법 (Screen NeverSleep) (0) | 2020.07.31 |
| [Unity] DataTime을 사용하여 현재 시간 표시하기 (0) | 2019.11.19 |
| [Unity] Visual Studio Community 단축키 (0) | 2019.07.05 |
| [Unity] Unity에서 사용되는 싱글톤 패턴(Singleton Pattern) (0) | 2019.07.04 |